How to fit wooden blinds
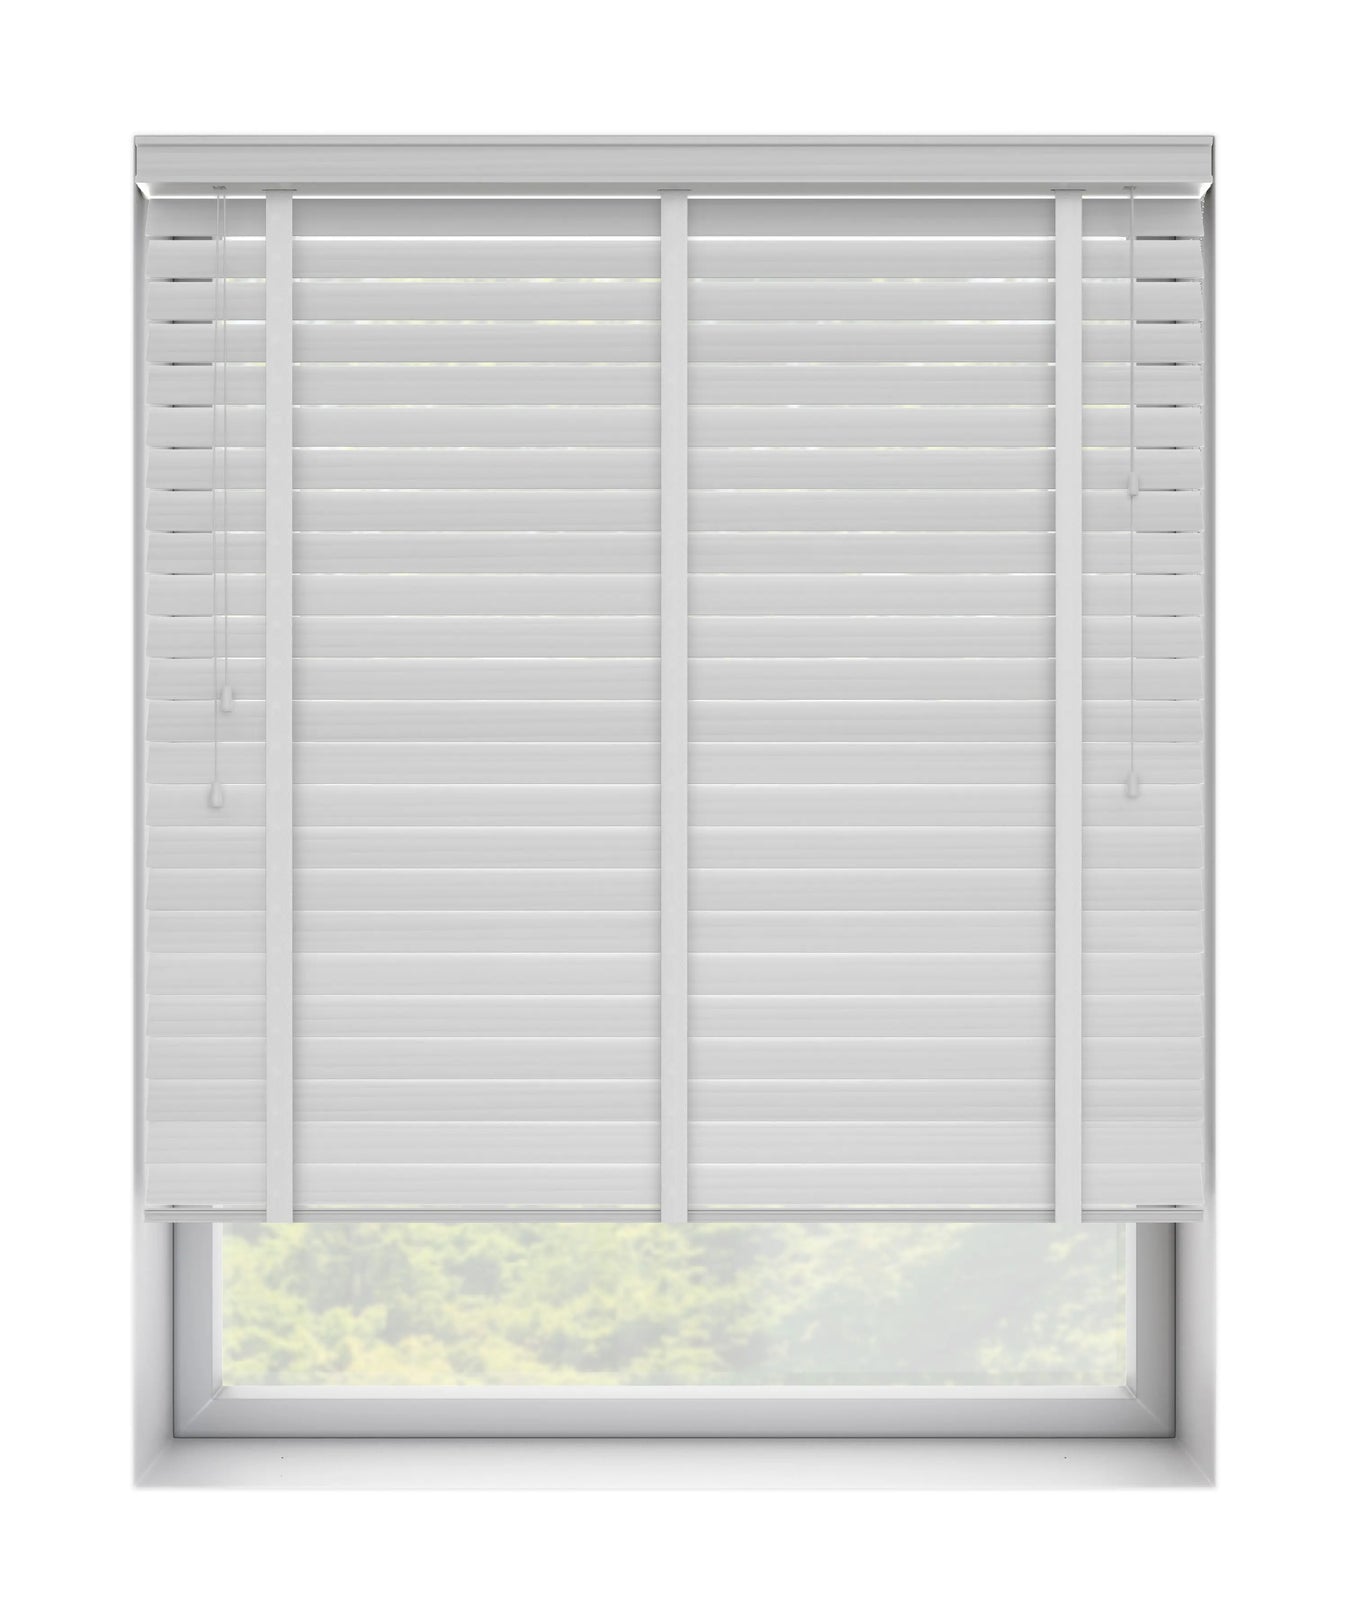
Want to replace those dull blinds with new blinds? How about something a little warmer and more welcoming like wooden blinds? If you are already tired of those fitting videos, here is a guide to help you understand wooden blind fittings better.
Wooden blinds are a versatile and stylish way to cover windows and improve a room's overall look. These blinds are the only other item that can blend in with any design scheme. Depending on your requirements, blinds can be sized to fit perfectly.
Although selecting and installing blinds could appear difficult, it's much easier than you think. This article will walk you through everything you need to know about picking and installing blinds properly.
How to Install Wooden Blinds?
Blinds are extremely adaptable window treatments. The slats can be opened to bring in some light or raised to provide a full view of the outside. Wooden blinds can be installed in three ways: inside mount, outside mount, and ceiling mount. What style you need depends on how you want your room to look or what kind of windows you have. It can be real wood blinds, faux wood blinds, or taped wooden blinds.
Installing blinds that perfectly fit your windows requires precise measurements. There are a lot of little mistakes that people make that end up creating big problems. You need to know about blinds' measurements before installing wood blinds.
Blinds are a very flexible way to cover a window. Installing wooden blinds is an easy task. But, if it doesn't fit just right, it won't look just right. Make sure the blind is in good shape and comes with the pelmet and brackets. You can open the slats to let in a little light or raise them to see everything outside. Wood blinds can add warmth and privacy to a room without making it look cold. You can choose wood blinds that match the other wood in your home.
With our step-by-step instructions, you can quickly and easily install your new wooden blind. Grab your tools and follow the steps below. You must supply your own screws because the type required varies substantially depending on the surfaces you are fixing to. You will need screws with a diameter of 4mm that are appropriate for the material you are installing into.
Step 1:If you are installing the blind outside of the window recess, make sure that the measurement is accurate for smooth operation. This will make sure that the blind fits evenly on both sides and stays in the desired position. If you are installing the blind inside the recess, you can attach the brackets to the lintel or the window frame.
Step 2:You can fix the brackets from the front, the side, or the top. For fitting in a recess, you'll use side fix or top fixing, and for fitting outside the recess, you'll use face fixing. A face fix is a popular choice. Next, measure and mark the distance between the back of the bracket and the wall, making sure to account for things like window handles that stick out into the recessed area.
Step 3:At each end, the brackets should be 6mm wider than the blind at a suitable distance. Hold each bracket in place and use a pencil to mark where the holes will go on the wall. Use screws with a diameter of 4mm to hold each bracket in place. Make sure that the fixings you choose will work with the surface on which you're putting the brackets. Do this step carefully as it has many benefits that ensure your blinds operate smoothly.
Step 4:A central support bracket is needed for blinds that are wider. Before installing, line up the top of the central bracket with the top of the mounting bracket. Install the central bracket so that the larger flap (called a "gate") is on top and the holes are equally spaced along the width of the head rail. Make sure that the central bracket is installed so that it is not in the way of any tie cords or tapes that run down the slats.
Step 5:Open the box brackets' gate, slide the head rail into place, and close the brackets' gates with the snaps.
Step 6:You must install the safety cleat as close to the blind's headrail as possible and no less than 1500mm from the floor.
Put the safety cleat where you want it on the wall and use a pencil to mark where the holes are. As needed, drill holes.
Step 7:Attach the child safety cleat to the wall using the holes that were already there.
Tips for cleaning wooden blinds
Use a microfiber cloth or a feather duster to clean the dust. Over time, dust will build up on the blinds' slats. Every few weeks, carefully wipe each slat in a downward direction. You can also remove dust by running a soft vacuum upholstery attachment over each slat. You could also put on some soft gloves or old socks and rub your hands along each slat. To clean the other side, turn the slats.
Fitting components
Tools You Will Need:
- Drill with a 1/8" bit
- A Phillips bit
- Flathead screwdriver
- Metal tape measure
Parts Included:
- Screws
- Two mounting brackets
- A wand (if selected)
- Valance clips
- Cord cleats
Make it safe
Before installing these blinds, you have to be very cautious about the safety measures. According to child protection laws, the headrail of this blind cannot be fixed more than 1.5m above the floor. Young children are prone to stumbling over the products' pulley ropes, chains, tape, straps, or inner cords. Kindly keep the excess cord away from children and furniture to avoid strangling and obstruction. Child safety should always be your priority.
Final Thoughts
Installing wooden blinds in your home can be a simple do-it-yourself project. Choose the sort of window treatment you want, then specify whether you want an inside or outside mount installation. You can also choose between faux wood or taped blinds. Mounting brackets are provided with both inside and outdoor installed blinds and shades. We hope this blog has helped you through the process of installing wooden blinds on your window frame. If you follow these pointers correctly, team Blindstyle ensures that your wooden blinds will not only look neat but also work correctly.
Feel free to visit BlindStyle for additional information on prominent fit blinds in the UK, or to order your free samples today.